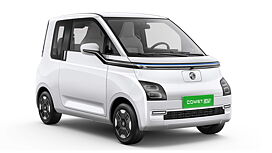
MG Comet EV Images (233 Images)
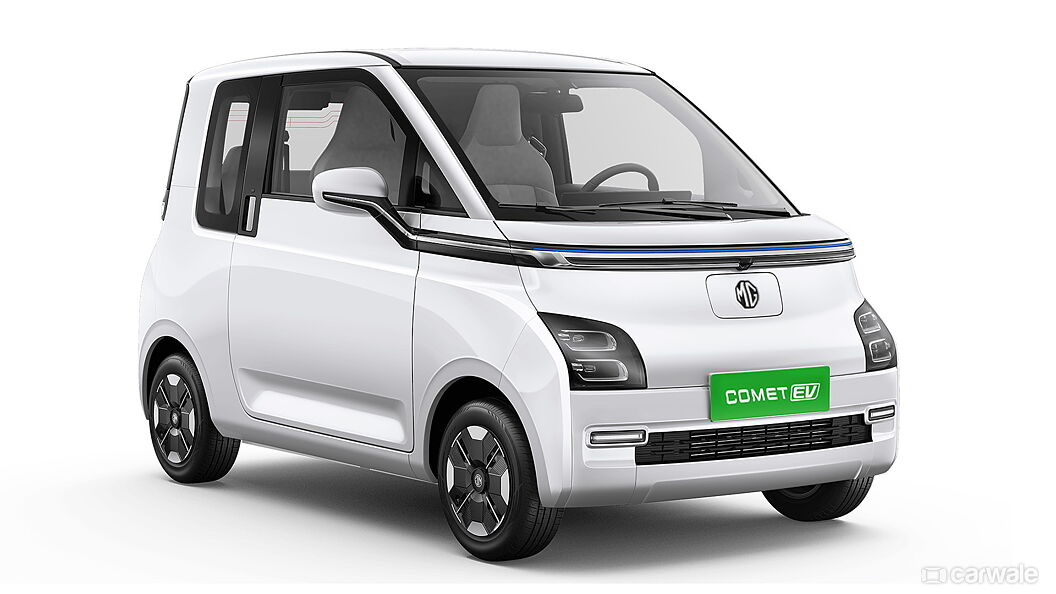
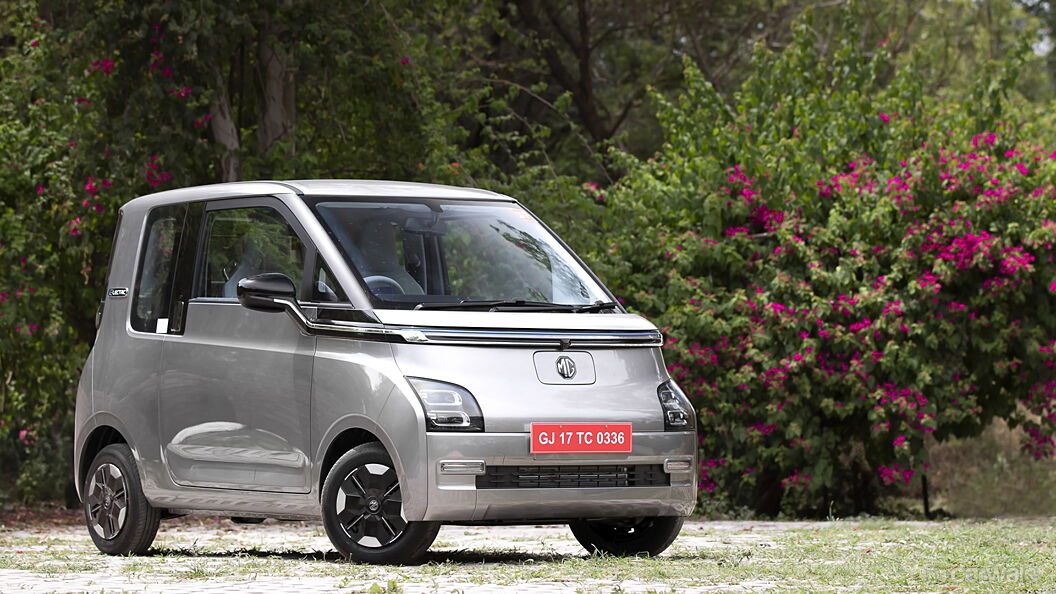
View the latest Comet EV images. Comet EV car has 233 images of its interior, exterior and 360-degree views. Also, MG Comet EV is available in 5 different colours.
- All
- Exterior
- Interior
- Colours
- All
- Exterior
- Interior
- Colours
- Outer view
- Seat & seat adjustments
- Dashboard
- Outer lights
- Gears, Pedals and Stalks
- Storage and Cup holders
- Outer Parts
- Entertainment systems
- Ac
- Doors and Mirrors
- Interior lights
- Charging points
- Electric
- Doors & Controls
- AirBags
- Logo
- Outer view
- Seat & seat adjustments
- Dashboard
- Outer lights
- Gears, Pedals and Stalks
- Storage and Cup holders
- Outer Parts
- Entertainment systems
- Ac
- Doors and Mirrors
- Interior lights
- Charging points
- Electric
- Doors & Controls
- AirBags
- Logo
Outer view (60 Images)
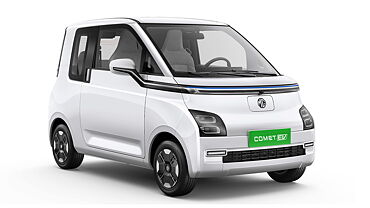
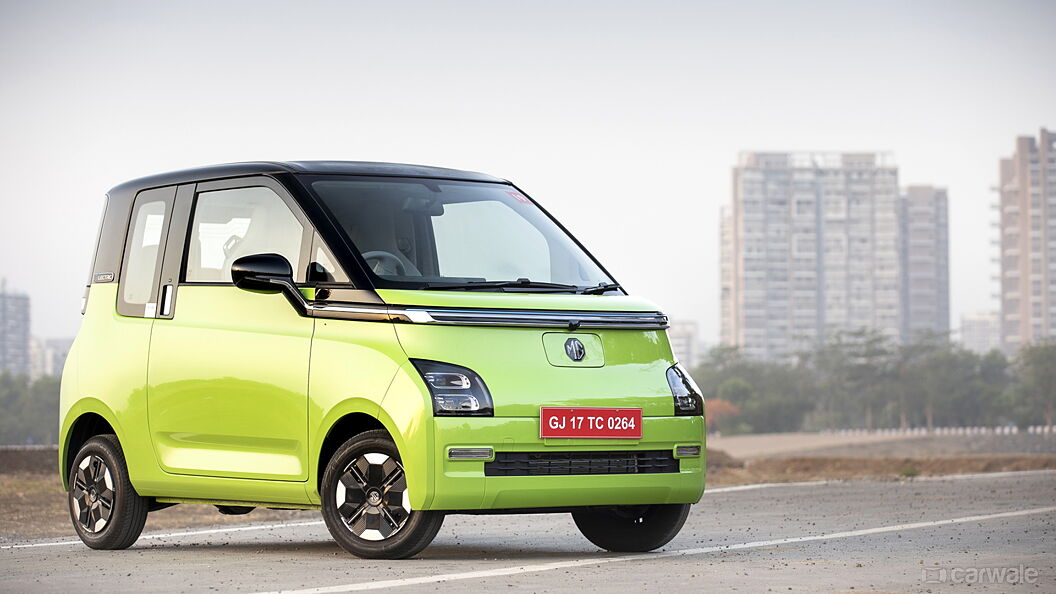
Right Front Three Quarter
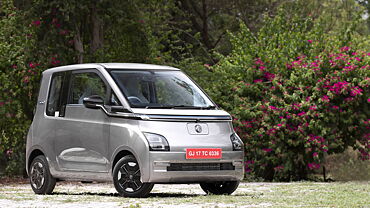
Right Front Three Quarter
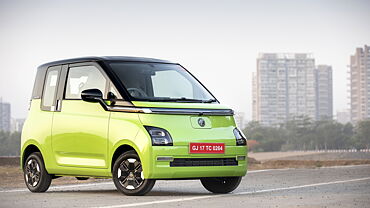
Right Front Three Quarter
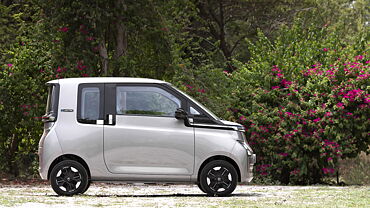
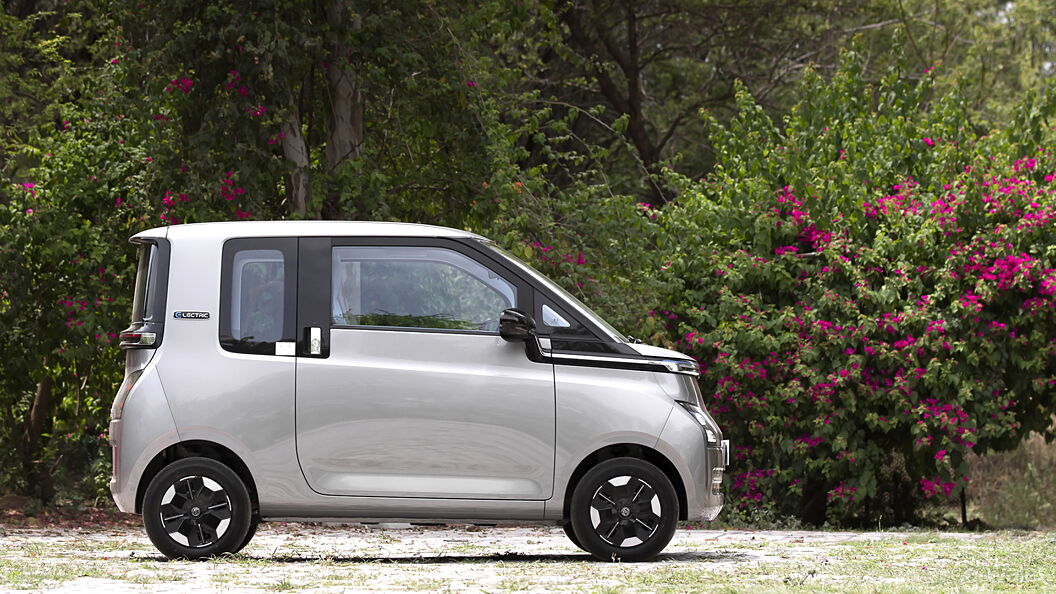
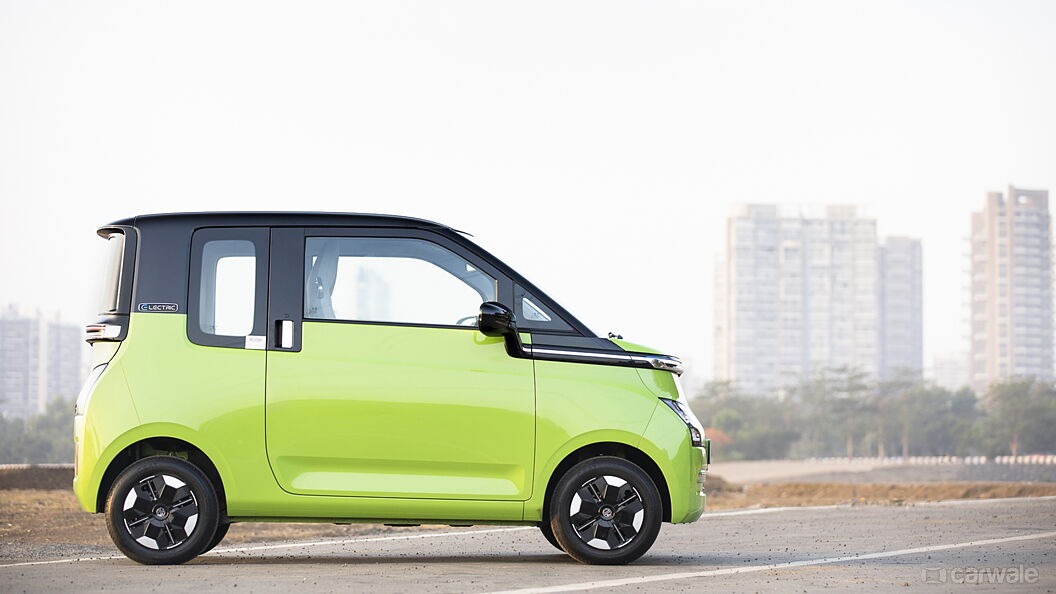
Right Side View
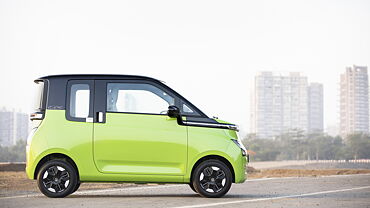
Right Side View
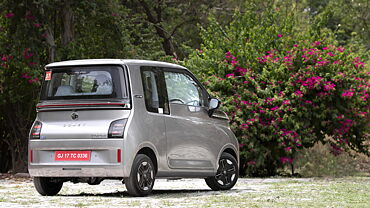
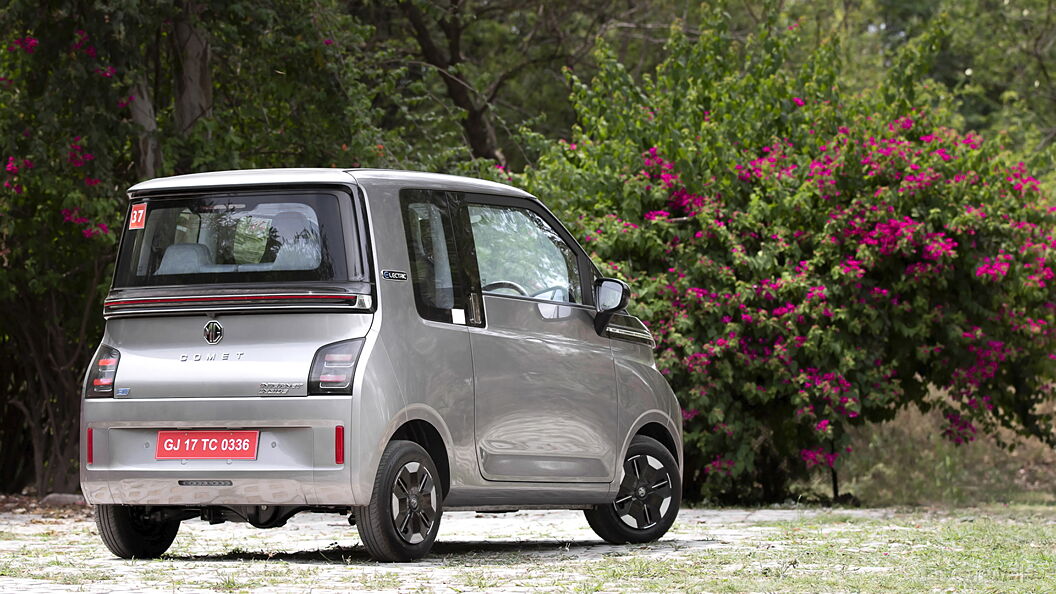
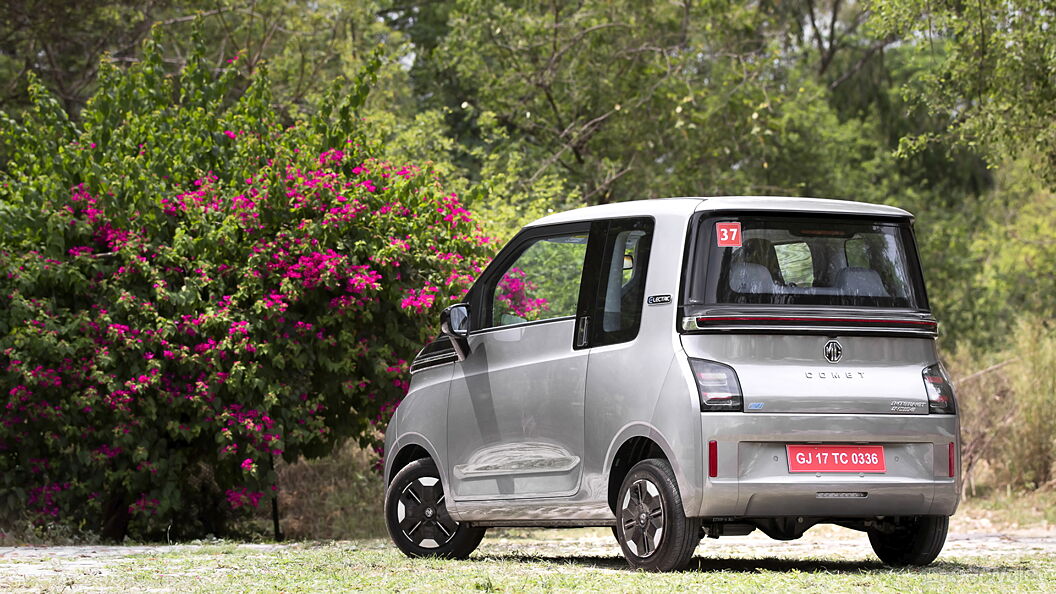
Right Rear Three Quarter
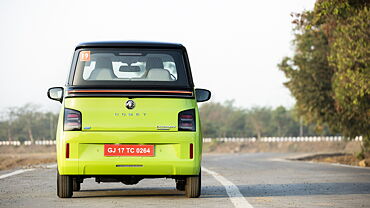
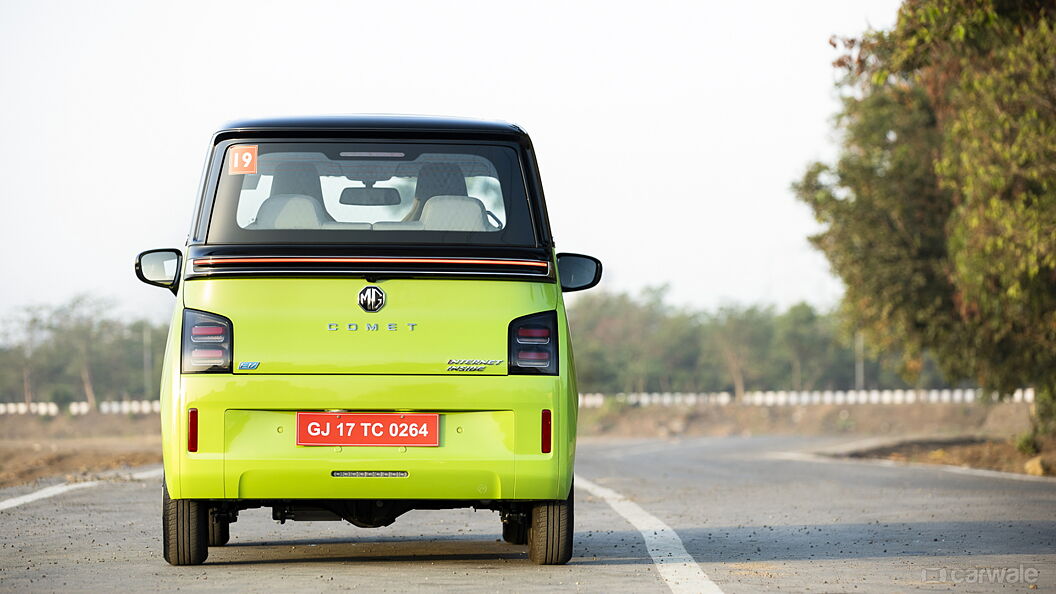
Rear View
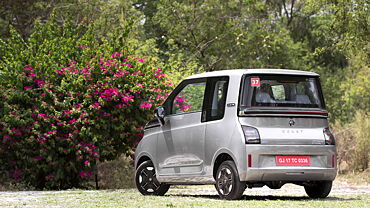
Left Rear Three Quarter
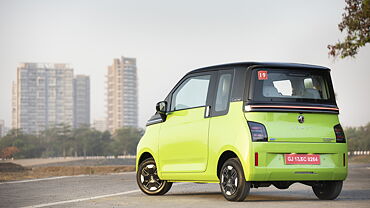
Left Rear Three Quarter
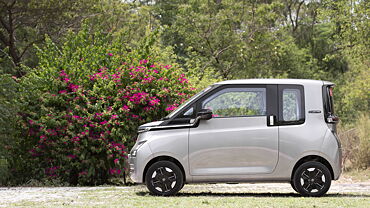
Left Side View
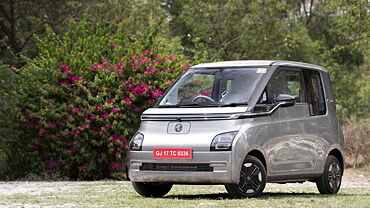
Left Front Three Quarter
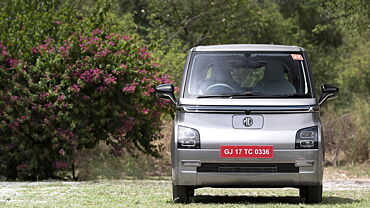
Front View
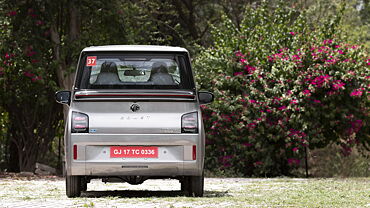
Front View
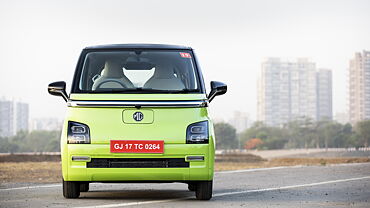
Front View
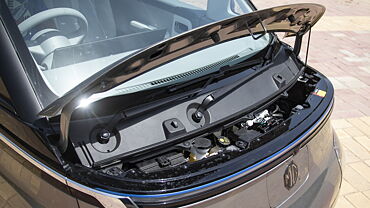
Engine Shot
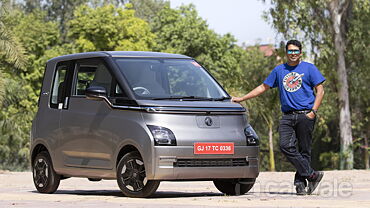
Right Front Three Quarter
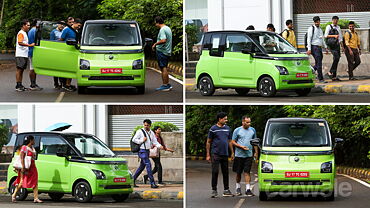
Right Front Three Quarter
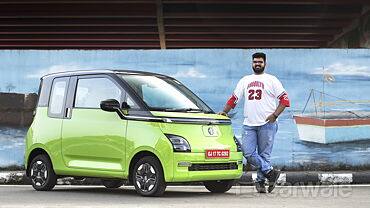
Right Front Three Quarter
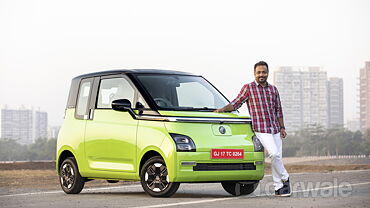
Left Front Three Quarter
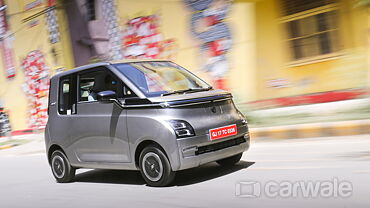
Right Front Three Quarter
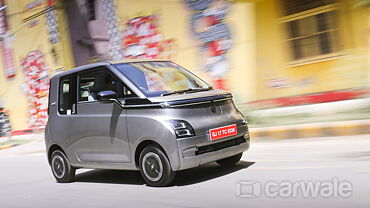
Right Front Three Quarter
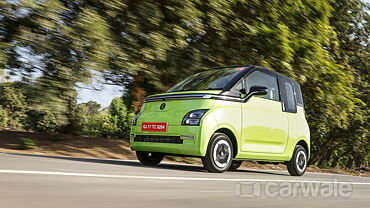
Right Front Three Quarter
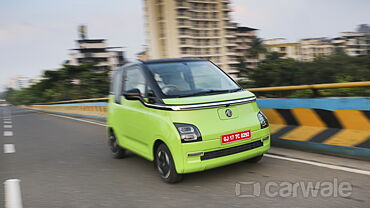
Right Front Three Quarter
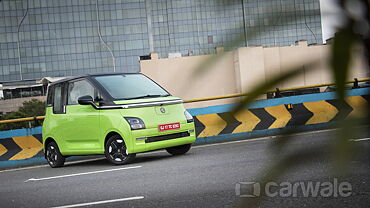
Right Front Three Quarter
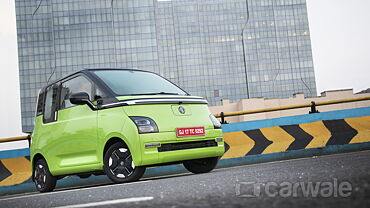
Right Front Three Quarter
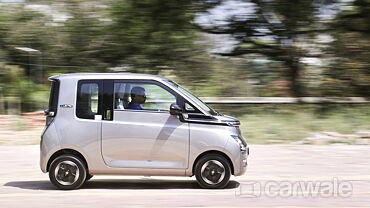
Right Side View
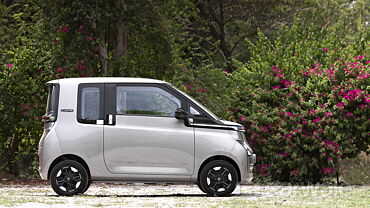
Right Side View
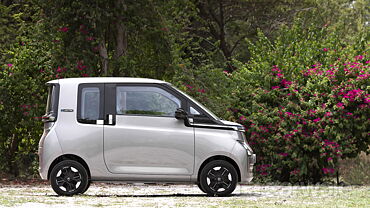
Right Side View
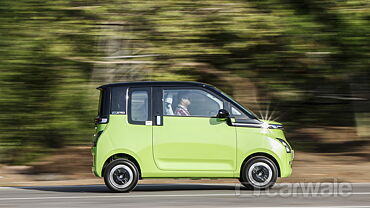
Right Side View
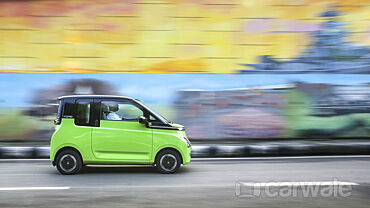
Right Side View
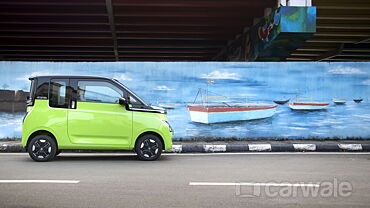
Right Side View
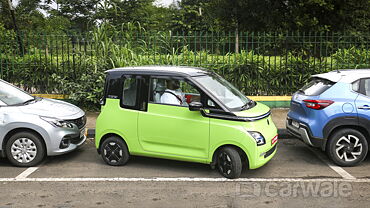
Right Side View
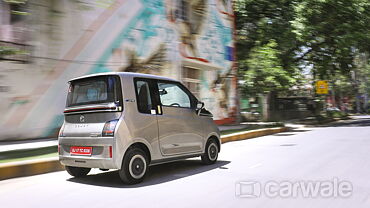
Right Rear Three Quarter
Right Rear Three Quarter
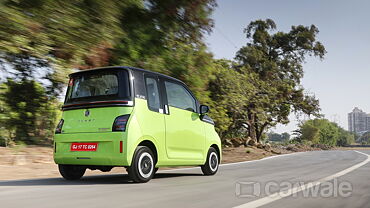
Right Rear Three Quarter
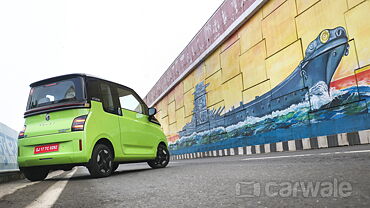
Right Rear Three Quarter
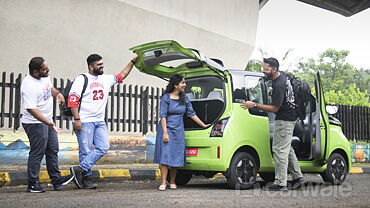
Right Rear Three Quarter
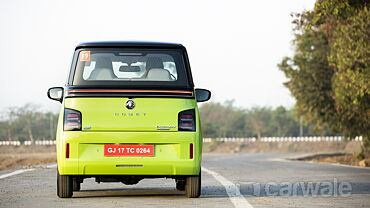
Rear View
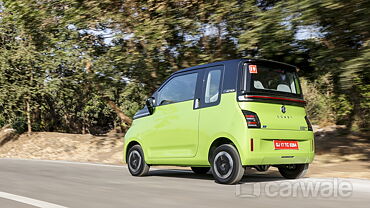
Left Rear Three Quarter
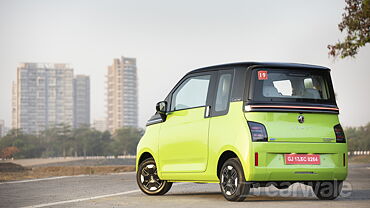
Left Rear Three Quarter
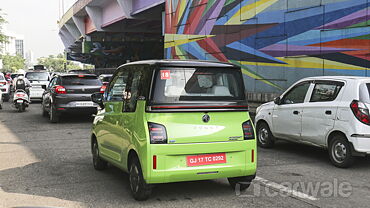
Left Rear Three Quarter
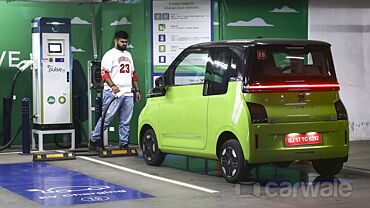
Left Rear Three Quarter
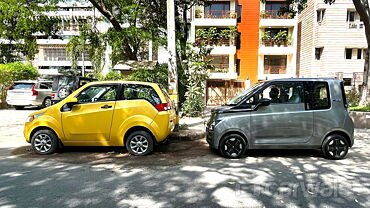
Left Side View
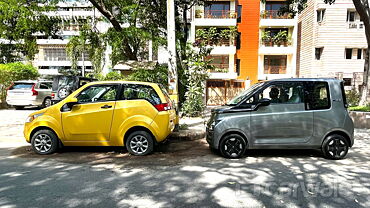
Left Side View
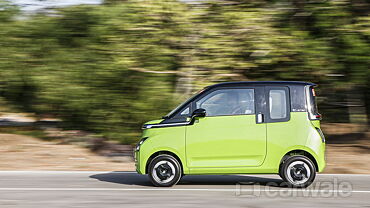
Left Side View
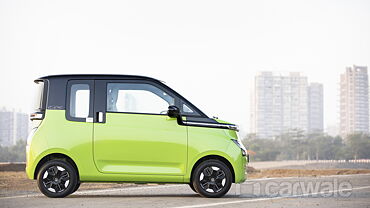
Left Side View
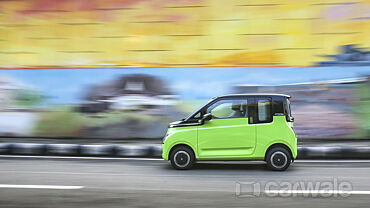
Left Side View
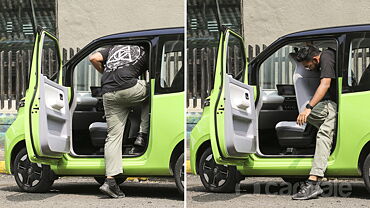
Left Side View
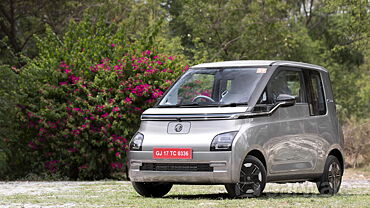
Left Front Three Quarter
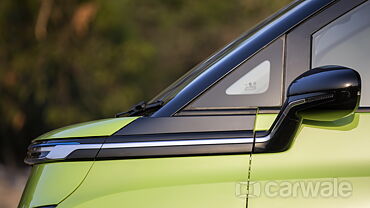
Left Front Three Quarter
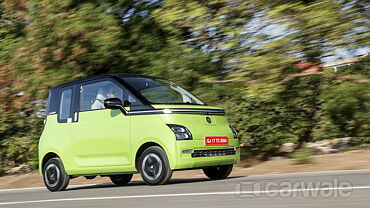
Left Front Three Quarter
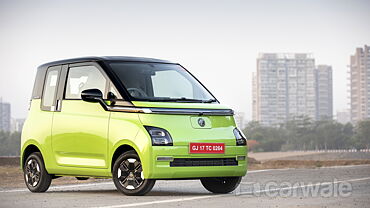
Left Front Three Quarter
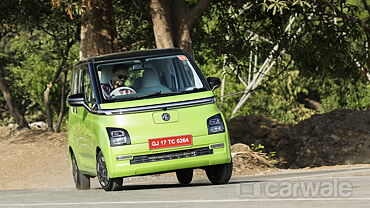
Left Front Three Quarter
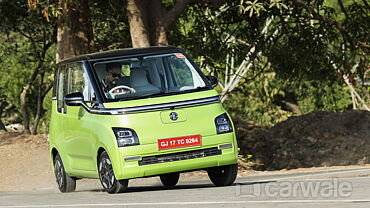
Left Front Three Quarter
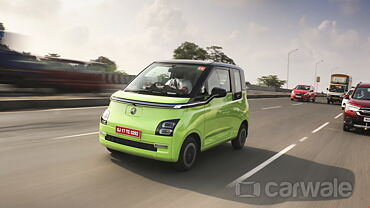
Left Front Three Quarter
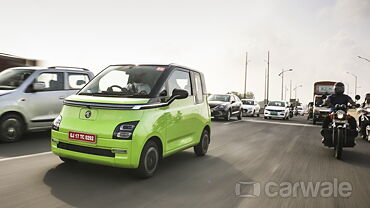
Left Front Three Quarter
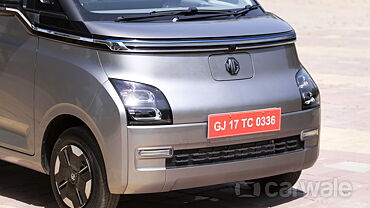
Front View
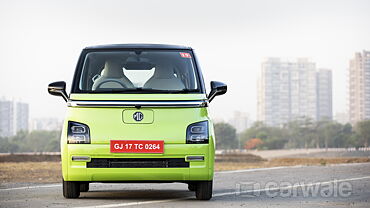
Front View
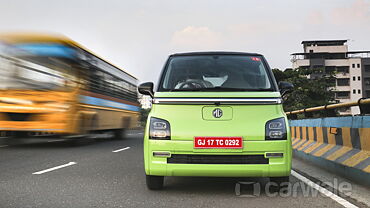
Front View
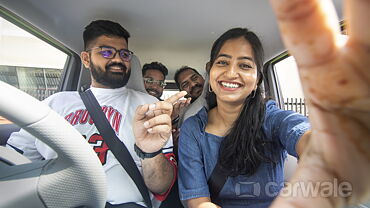
Front View
View More Outer view Images
Seat & seat adjustments (22 Images)
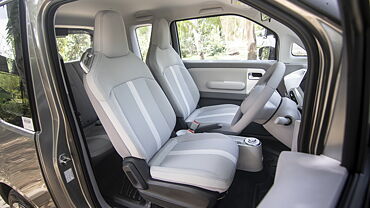
Front Row Seats
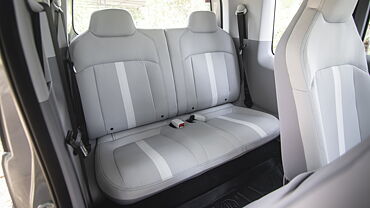
Rear Seats
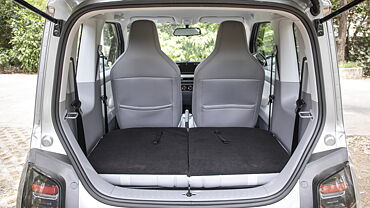
Bootspace Rear Seat Folded
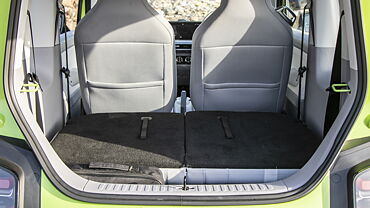
Bootspace Rear Seat Folded
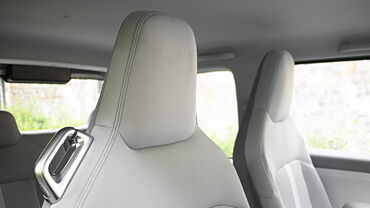
Front Seat Headrest: Front & Rear
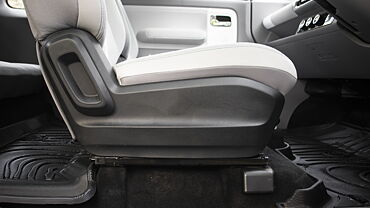
Seat Adjustment Manual for Driver
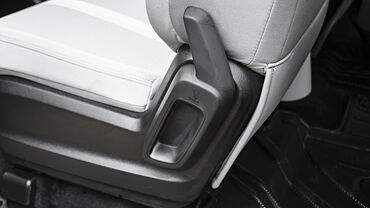
Seat Adjustment Manual for Front Passenger
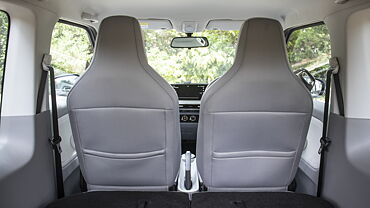
Front Seat Back Pockets
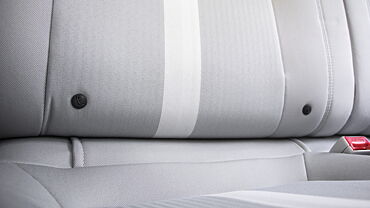
ISOFIX Child Seat Mounting Point Rear Row
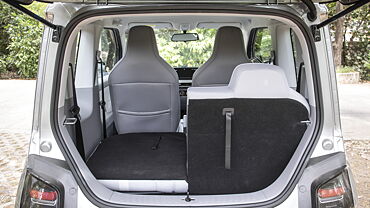
Bootspace Rear Split Seat Folded
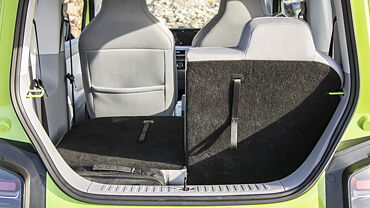
Bootspace Rear Split Seat Folded
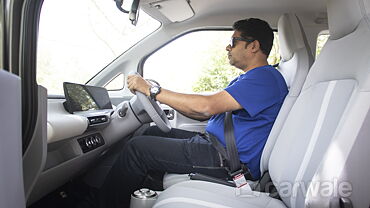
Front Row Seats
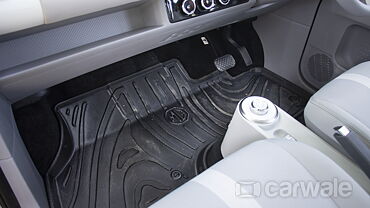
Front Row Seats
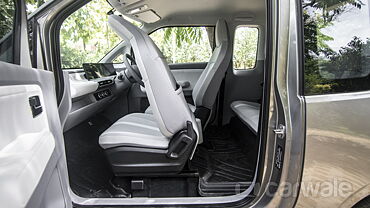
Front Row Seats
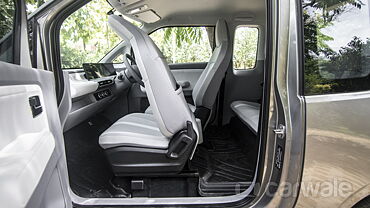
Front Row Seats
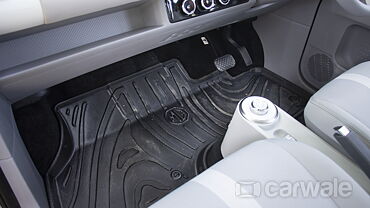
Front Row Seats
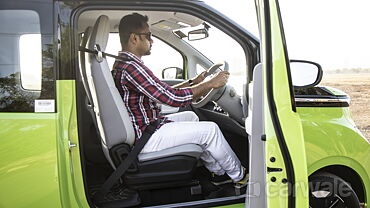
Front Row Seats
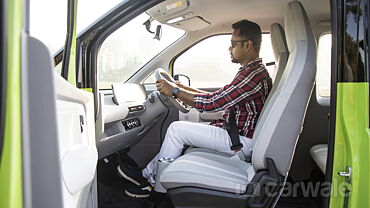
Front Row Seats
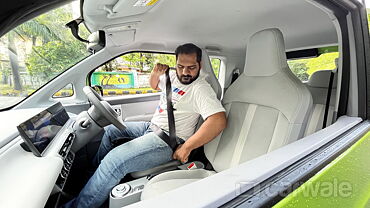
Front Row Seats
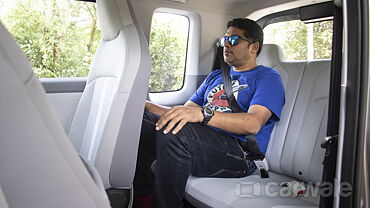
Rear Seats
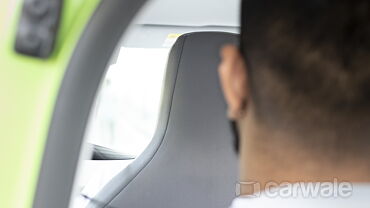
Front Seat Headrest: Front & Rear
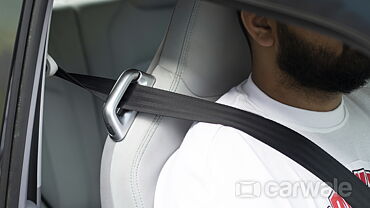
Front Seat Headrest: Front & Rear
View More Seat & seat adjustments Images
Dashboard (19 Images)
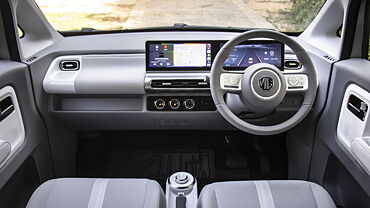
Dashboard
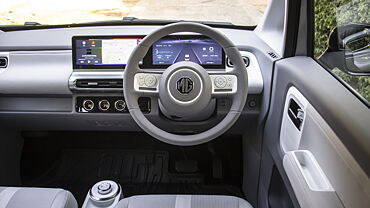
Steering Wheel
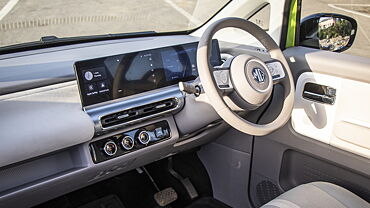
Steering Wheel
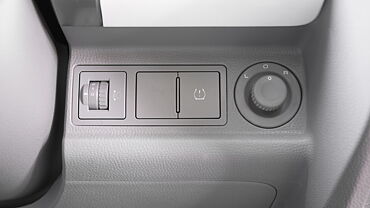
Dashboard Switches
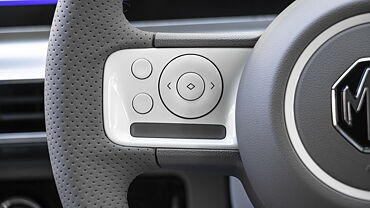
Left Steering Mounted Controls
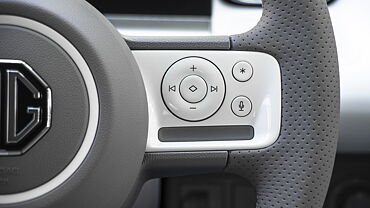
Right Steering Mounted Controls
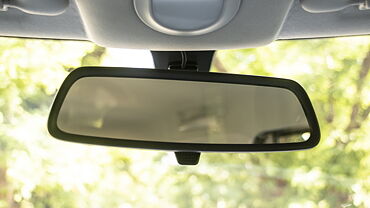
Inner Rear View Mirror
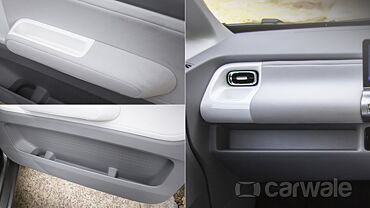
Dashboard
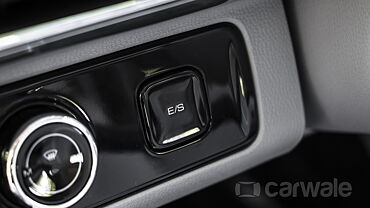
Dashboard
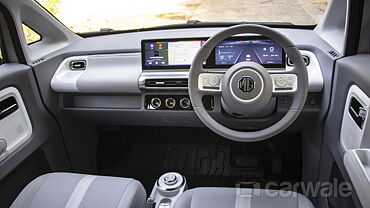
Dashboard
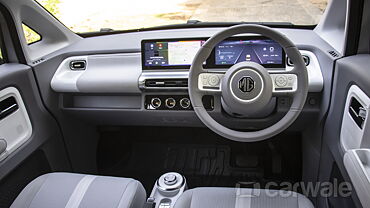
Dashboard
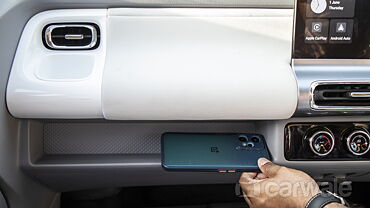
Dashboard
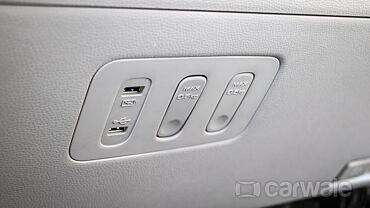
Dashboard
Dashboard
Dashboard
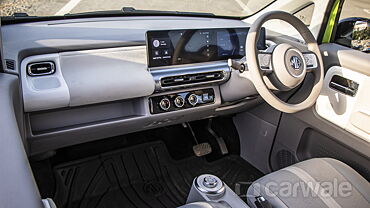
Dashboard
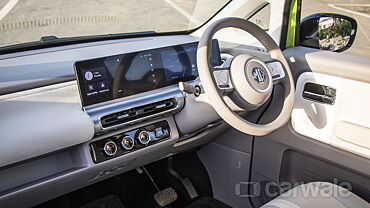
Dashboard
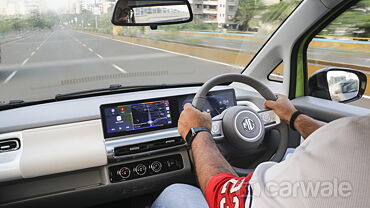
Steering Wheel
Inner Rear View Mirror
View More Dashboard Images
Outer lights (14 Images)
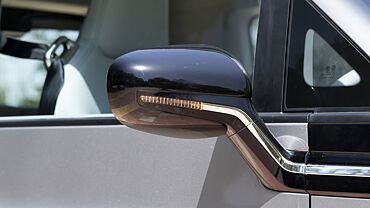
ORVM Blinker
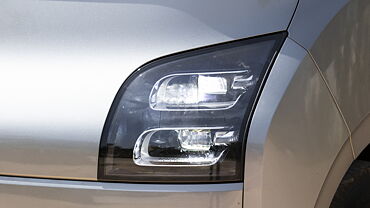
Headlight
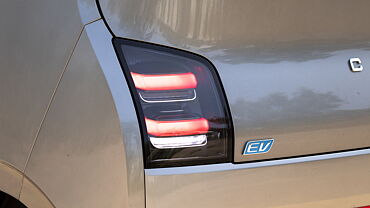
Tail Light/Tail Lamp
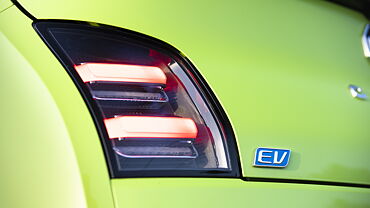
Tail Light/Tail Lamp
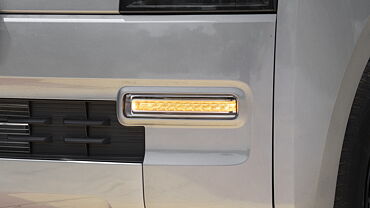
Blinker
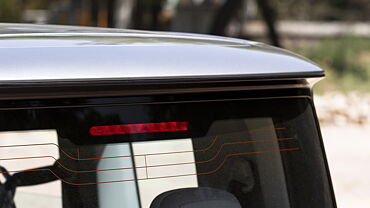
Rear High Mounted Stop Lamp
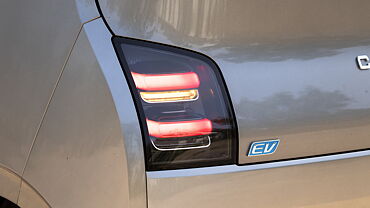
Rear Signal/Blinker Light
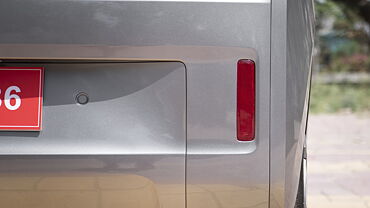
Reflector
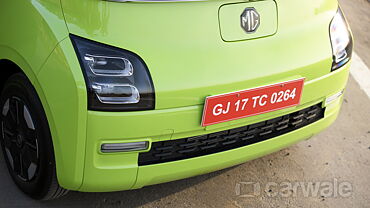
Headlight
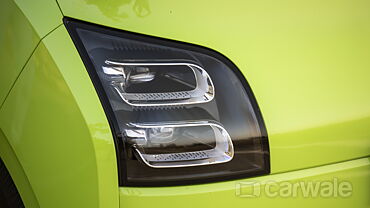
Headlight
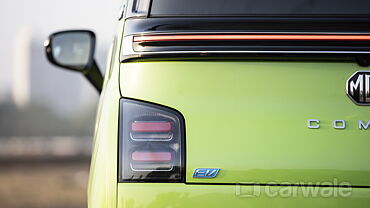
Tail Light/Tail Lamp
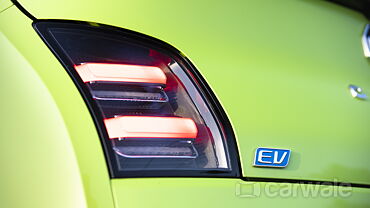
Tail Light/Tail Lamp
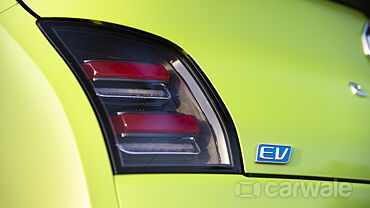
Tail Light/Tail Lamp
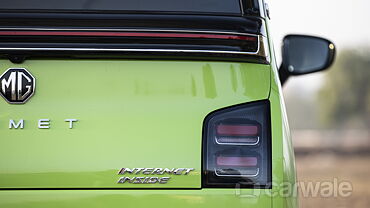
Tail Light/Tail Lamp
View More Outer lights Images
Gears, Pedals and Stalks (24 Images)
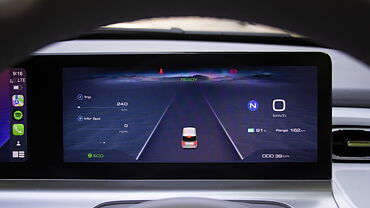
Instrument Cluster
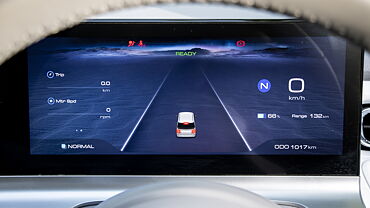
Instrument Cluster
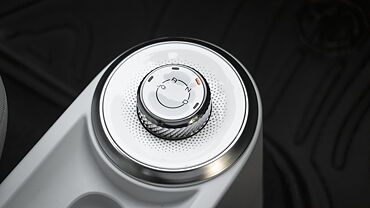
Gear Selector Dial
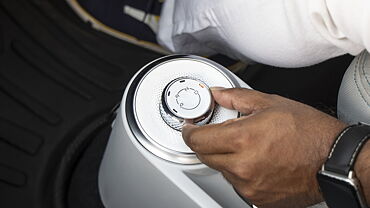
Gear Selector Dial
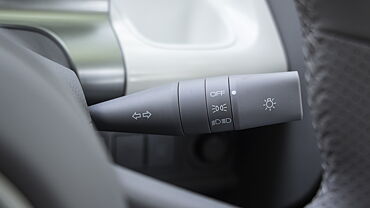
Headlight Stalk
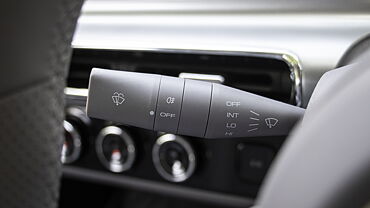
Wiper Stalk
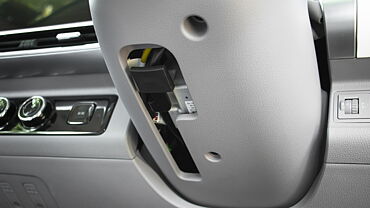
Steering Adjustment Lever/Controller: Tilt
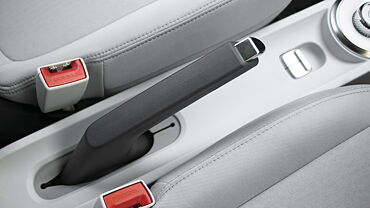
Parking Brake/Emergency Brake
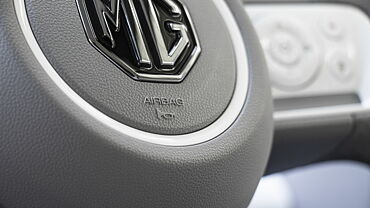
Horn Boss
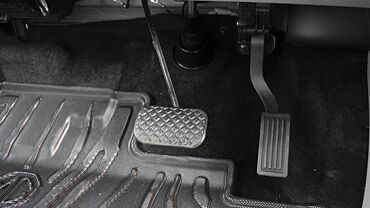
Pedals/Foot Controls
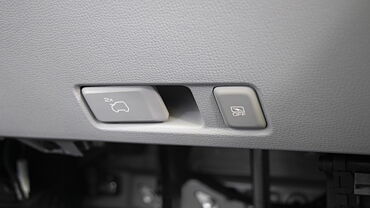
Bonnet/Hood release
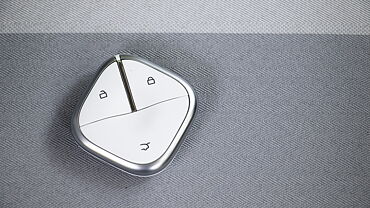
Boot Release Lever/Fuel Lid Release Lever
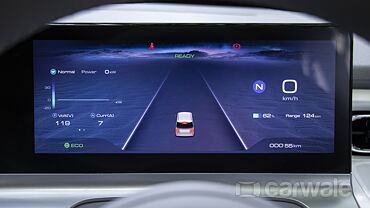
Instrument Cluster
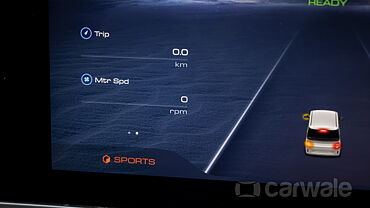
Instrument Cluster
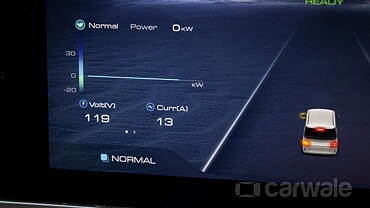
Instrument Cluster
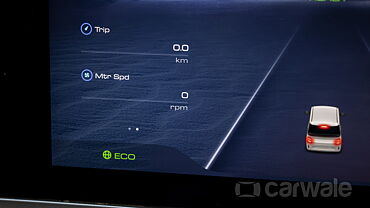
Instrument Cluster
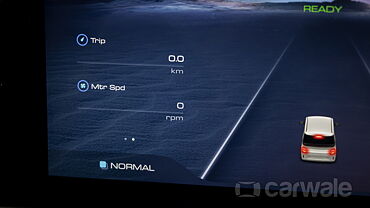
Instrument Cluster
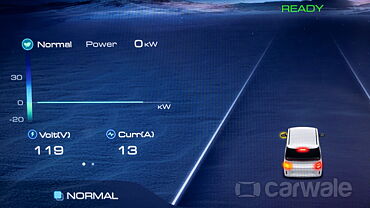
Instrument Cluster
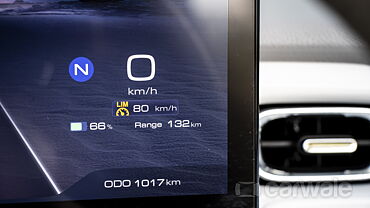
Instrument Cluster
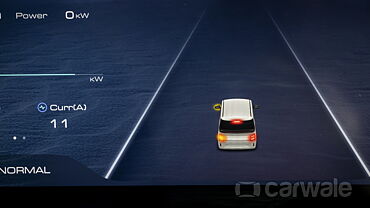
Instrument Cluster
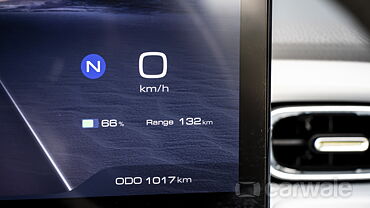
Instrument Cluster
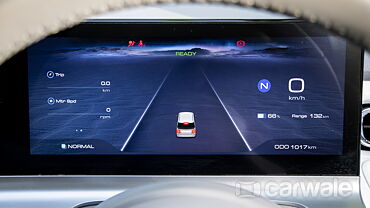
Instrument Cluster
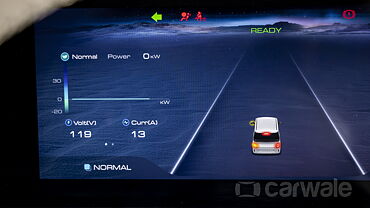
Instrument Cluster
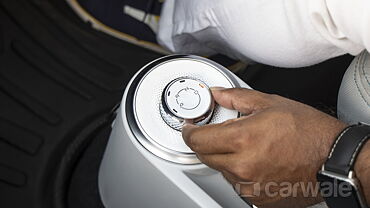
Gear Selector Dial
View More Gears, Pedals and Stalks Images
Storage and Cup holders (6 Images)
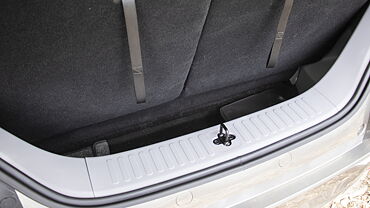
Bootspace
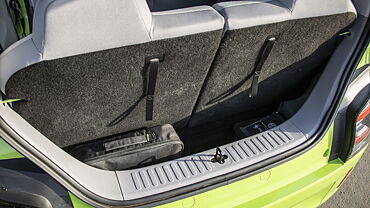
Bootspace
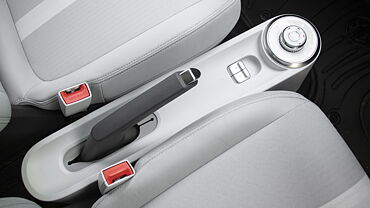
Center Console/Centre Console Storage
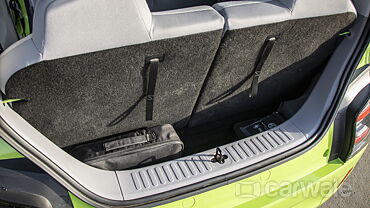
Bootspace
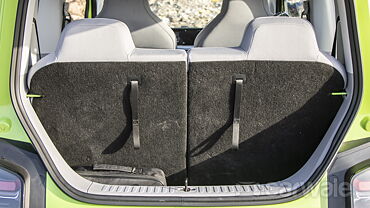
Bootspace
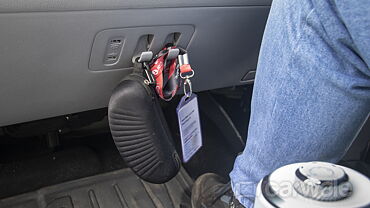
Cup Holders
View More Storage and Cup holders Images
Outer Parts (19 Images)
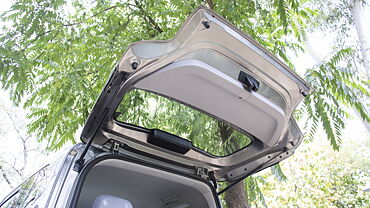
Open Boot/Trunk
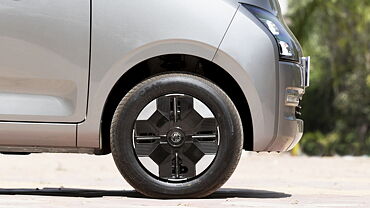
Wheel
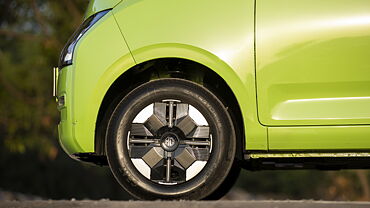
Wheel
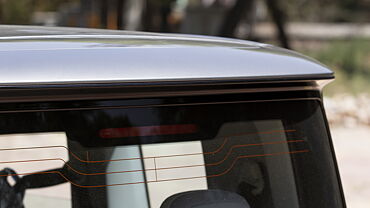
Rear Spoiler
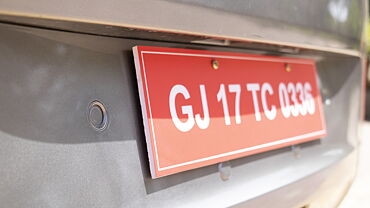
Rear Parking Sensor
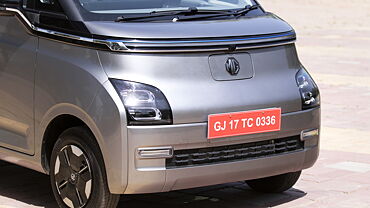
Grille
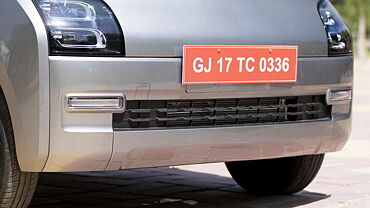
Front Bumper
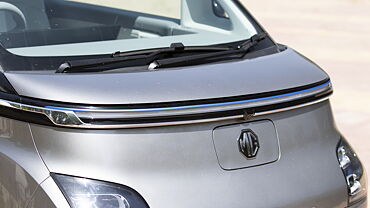
Closed Hood/Bonnet
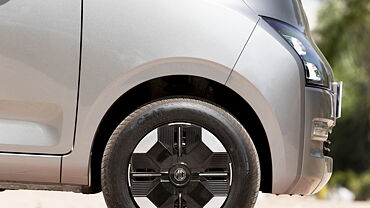
Front Fender
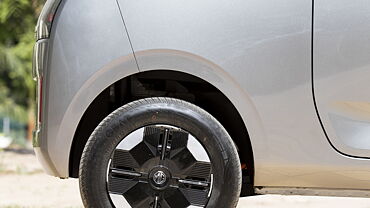
Rear Fender
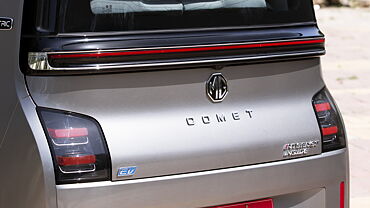
Closed Boot/Trunk
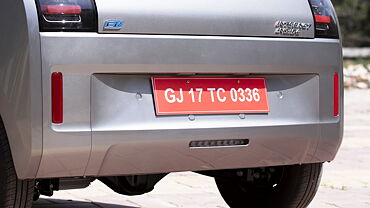
Rear Bumper
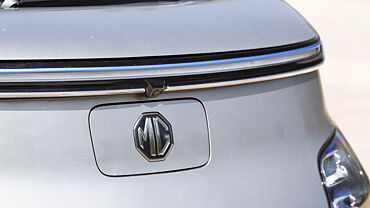
Closed Fuel Lid
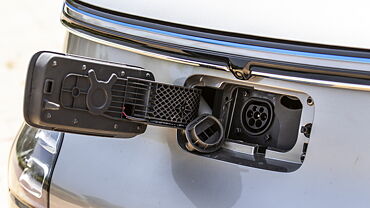
Open Fuel Lid
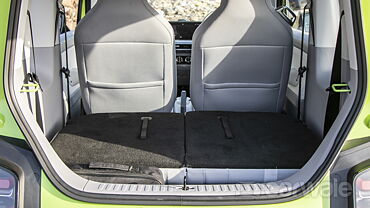
Open Boot/Trunk
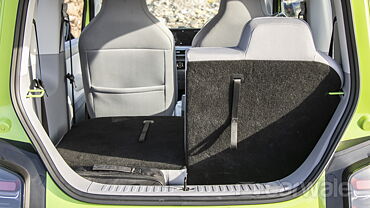
Open Boot/Trunk
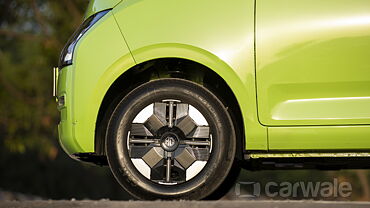
Wheel
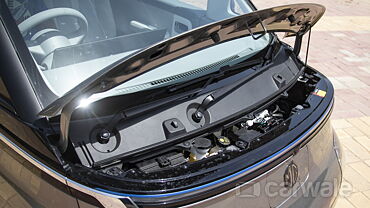
Closed Hood/Bonnet
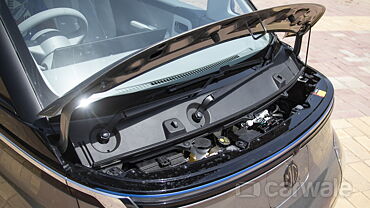
Closed Hood/Bonnet
View More Outer Parts Images
Entertainment systems (19 Images)
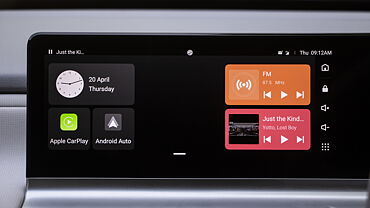
Infotainment System
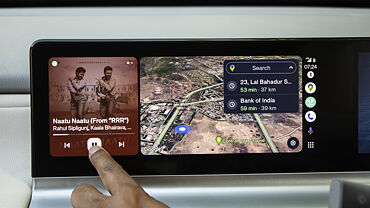
Infotainment System
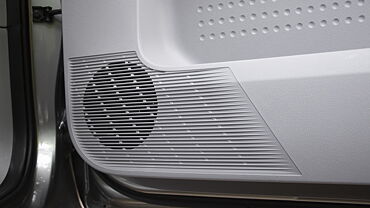
Front Speakers
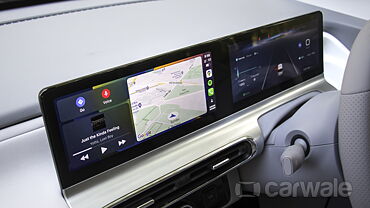
Infotainment System
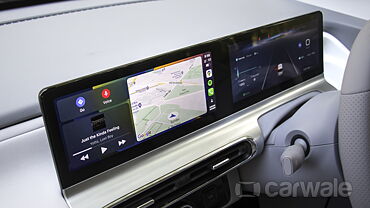
Infotainment System
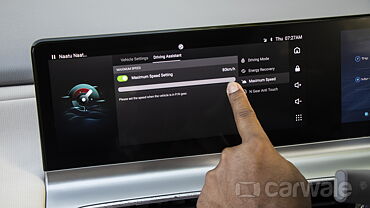
Infotainment System
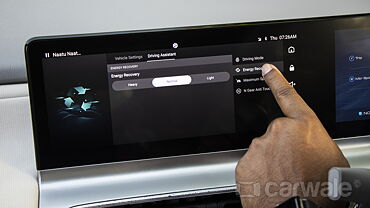
Infotainment System
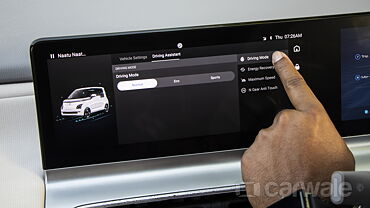
Infotainment System
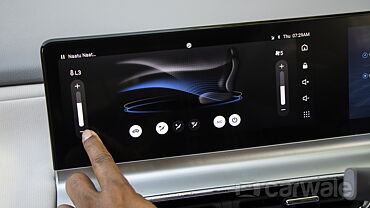
Infotainment System
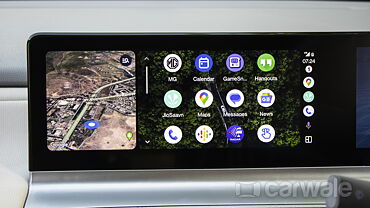
Infotainment System
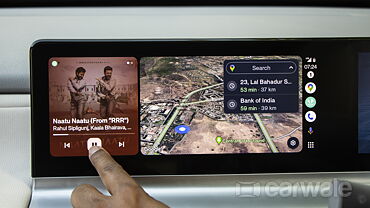
Infotainment System
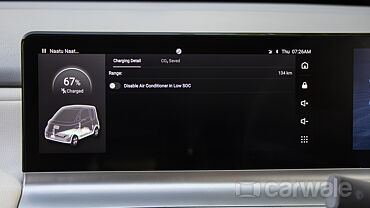
Infotainment System
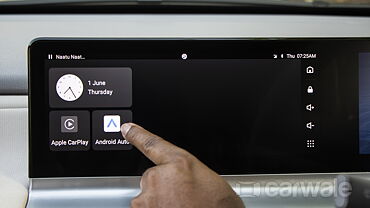
Infotainment System
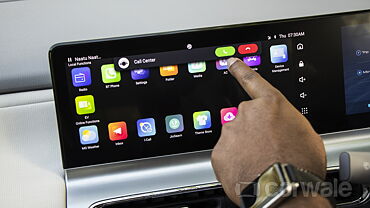
Infotainment System
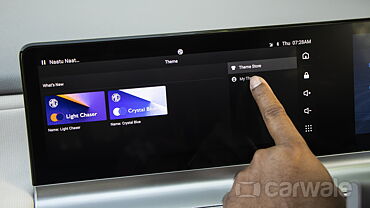
Infotainment System
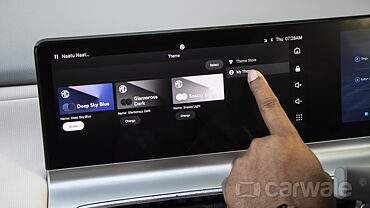
Infotainment System
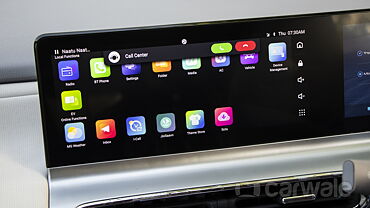
Infotainment System
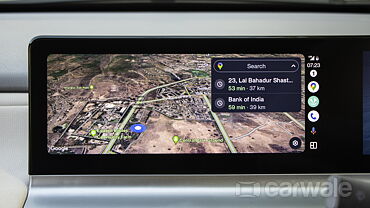
Infotainment System
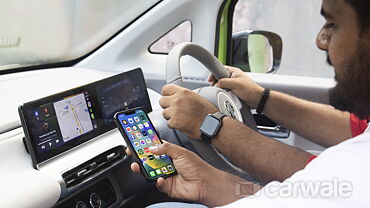
Infotainment System
View More Entertainment systems Images
Ac (7 Images)
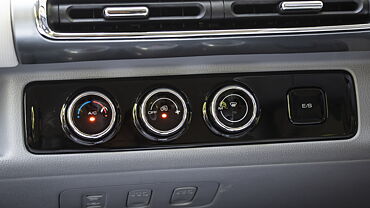
AC Controls: Yes (Manual)
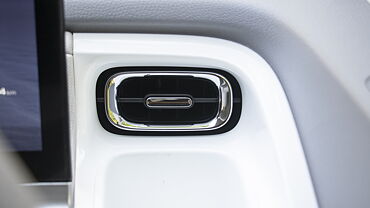
Right Side Air Vents
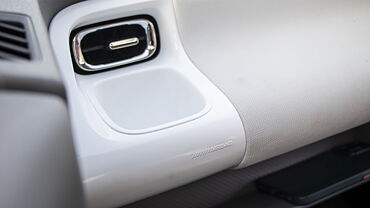
Front Passenger Air Vent
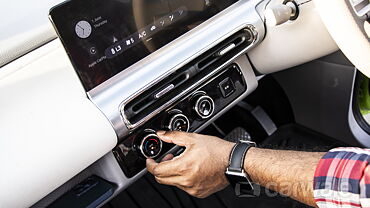
AC Controls: Yes (Manual)
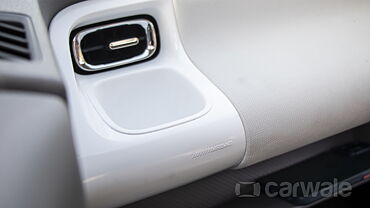
Front Passenger Air Vent
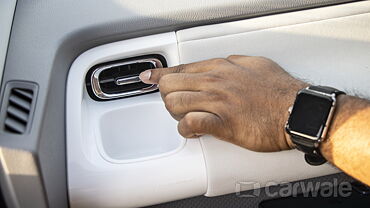
Front Passenger Air Vent
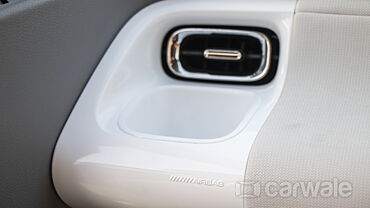
Front Passenger Air Vent
View More Ac Images
Doors and Mirrors (12 Images)
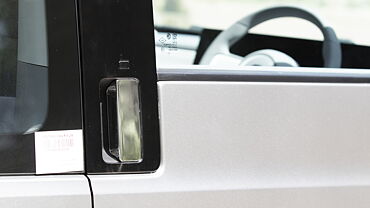
Front Door Handle
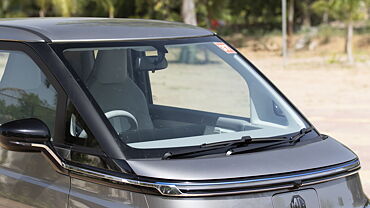
Front Windshield/Windscreen
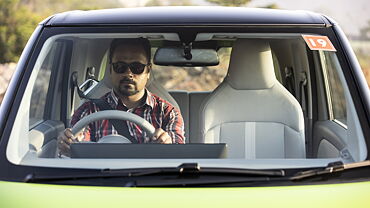
Front Windshield/Windscreen
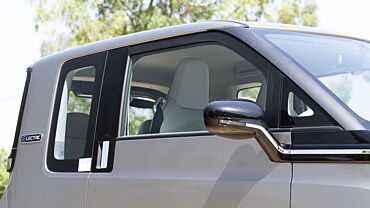
Side Glass Housing
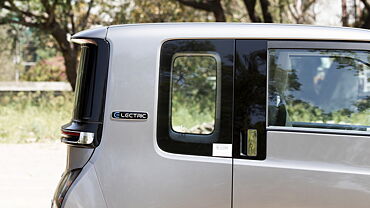
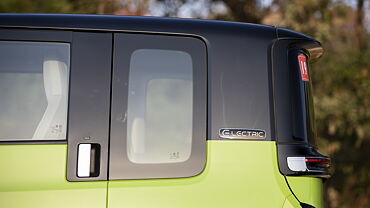
Rear Quarter Glass
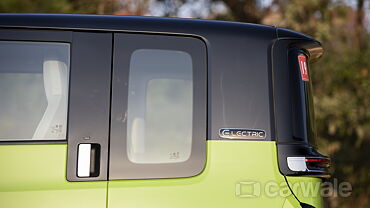
Rear Quarter Glass
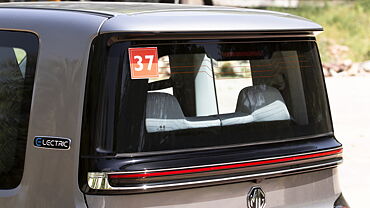
Rear Windshield/Windscreen
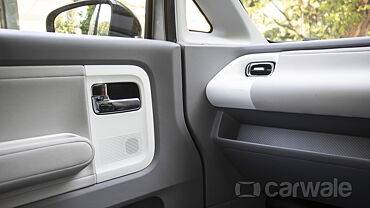
Front Door Handle
Rear Door Handle
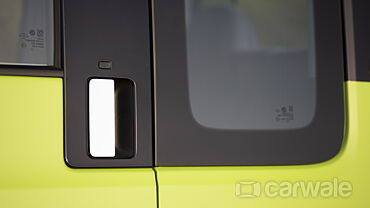
Rear Door Handle
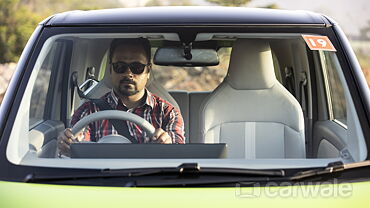
Front Windshield/Windscreen
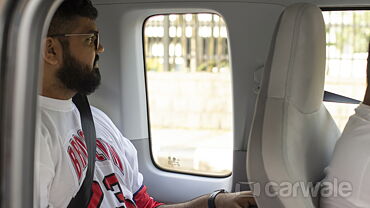
Side Glass Housing
View More Doors and Mirrors Images
Interior lights (2 Images)
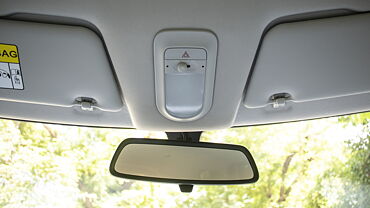
Roof Mounted Controls/Sunroof & Cabin Light Controls
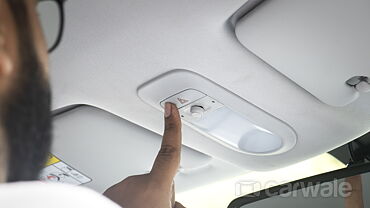
Roof Mounted Controls/Sunroof & Cabin Light Controls
View More Interior lights Images
Charging points (3 Images)
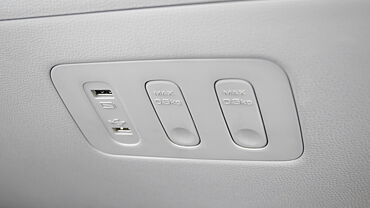
USB Port/AUX/Power Socket/Wireless Charging
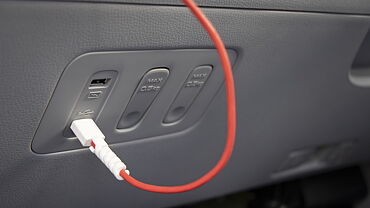
USB Port/AUX/Power Socket/Wireless Charging
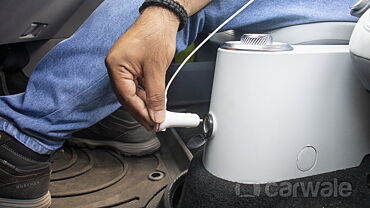
USB Port/AUX/Power Socket/Wireless Charging
View More Charging points Images
Electric (3 Images)
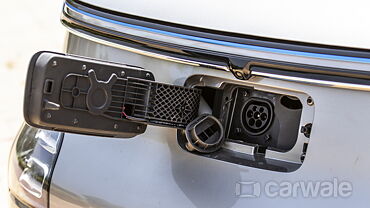
EV Car Charging Input Plug
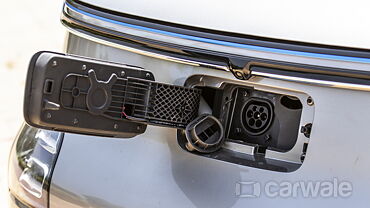
EV Car Charging Input Plug
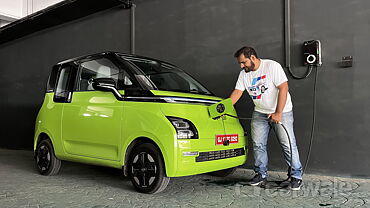
EV Car Charging Input Plug
View More Electric Images
Doors & Controls (7 Images)
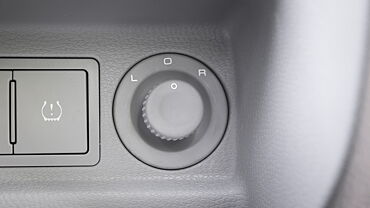
Outer Rear View Mirror ORVM Controls
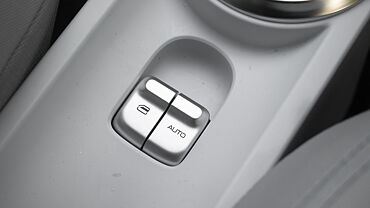
Front Driver Power Window Switches: Front Only
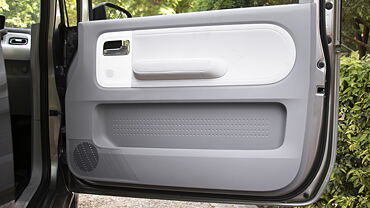
Front Right Door Pad
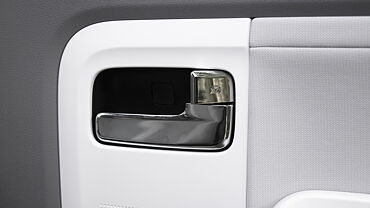
Front Right Door Pad Handle
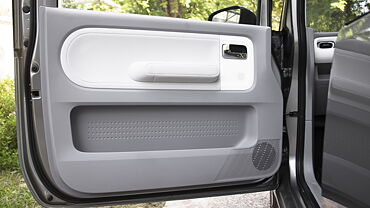
Front Left Door Pad
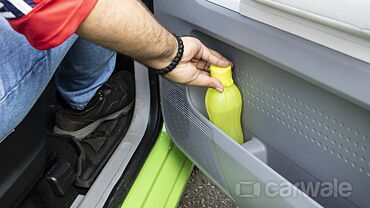
Front Right Door Pad
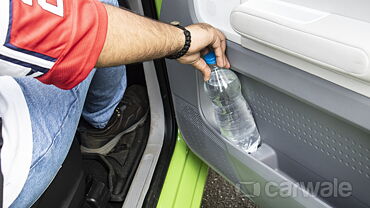
Driver Side Front Door Pocket
View More Doors & Controls Images
AirBags (1 Image)
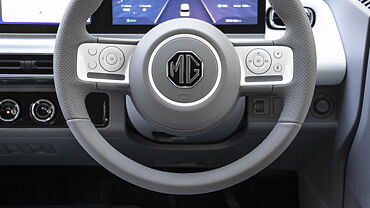
Driver Side Airbag
View More AirBags Images
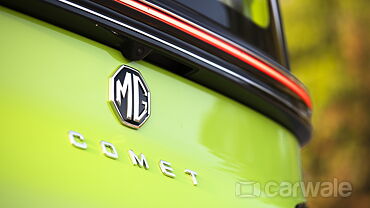
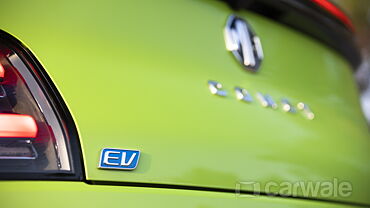
Logo (15 Images)
Front Logo
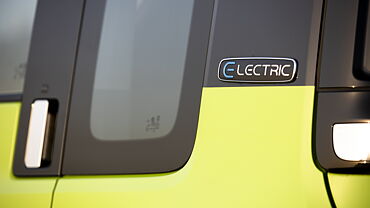
Side Badge
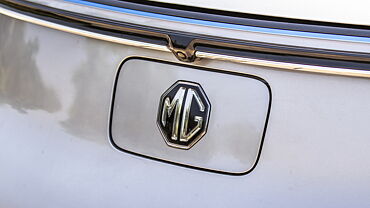
Rear Logo
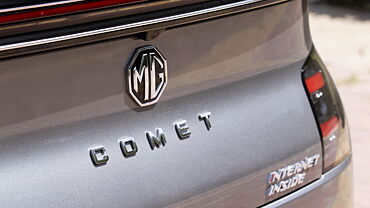
Rear Logo
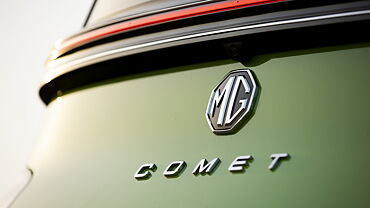
Rear Logo
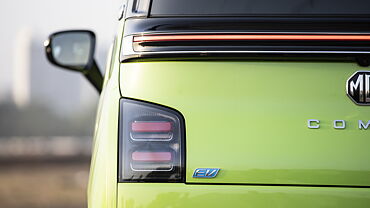
Rear Badge
Front Logo
Front Badge
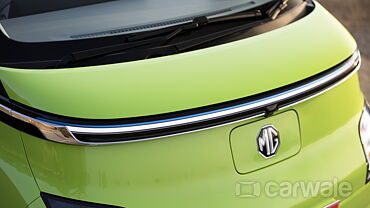
Front Badge
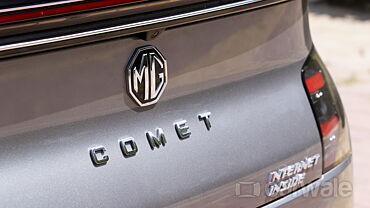
Rear Badge
Rear Badge
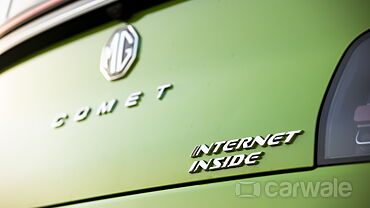
Rear Badge
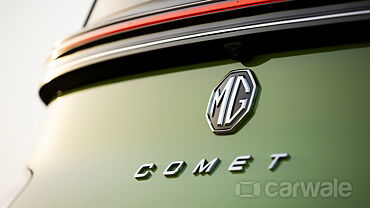
Rear Badge
Rear Badge
Rear Badge
View More Logo Images
1/233
Right Front Three Quarter
Double Tap to Zoom
![[object Object] ThumbNail Images](https://imgd.aeplcdn.com/80x52/n/cw/ec/125193/comet-ev-exterior-right-side-view-23.jpeg?isig=0&q=80 "[object Object] ThumbNail Images")
![[object Object] ThumbNail Images](https://imgd.aeplcdn.com/80x52/n/cw/ec/125193/comet-ev-exterior-right-front-three-quarter-4.jpeg?isig=0&q=80 "[object Object] ThumbNail Images")
![[object Object] ThumbNail Images](https://imgd.aeplcdn.com/80x52/n/cw/ec/125193/comet-ev-exterior-right-front-three-quarter-24.jpeg?isig=0&q=80 "[object Object] ThumbNail Images")
![[object Object] ThumbNail Images](https://imgd.aeplcdn.com/80x52/n/cw/ec/125193/comet-ev-exterior-right-side-view.jpeg?isig=0&q=80 "[object Object] ThumbNail Images")
![[object Object] ThumbNail Images](https://imgd.aeplcdn.com/80x52/n/cw/ec/125193/comet-ev-exterior-right-side-view-22.jpeg?isig=0&q=80 "[object Object] ThumbNail Images")
![[object Object] ThumbNail Images](https://imgd.aeplcdn.com/80x52/n/cw/ec/125193/comet-ev-exterior-right-rear-three-quarter.jpeg?isig=0&q=80 "[object Object] ThumbNail Images")
![[object Object] ThumbNail Images](https://imgd.aeplcdn.com/80x52/n/cw/ec/125193/comet-ev-exterior-rear-view-2.jpeg?isig=0&q=80 "[object Object] ThumbNail Images")
![[object Object] ThumbNail Images](https://imgd.aeplcdn.com/80x52/n/cw/ec/125193/comet-ev-exterior-left-rear-three-quarter.jpeg?isig=0&q=80 "[object Object] ThumbNail Images")
![[object Object] ThumbNail Images](https://imgd.aeplcdn.com/80x52/n/cw/ec/125193/comet-ev-exterior-left-rear-three-quarter-4.jpeg?isig=0&q=80 "[object Object] ThumbNail Images")
![[object Object] ThumbNail Images](https://imgd.aeplcdn.com/80x52/n/cw/ec/125193/comet-ev-exterior-left-side-view.jpeg?isig=0&q=80 "[object Object] ThumbNail Images")
![[object Object] ThumbNail Images](https://imgd.aeplcdn.com/80x52/n/cw/ec/125193/comet-ev-exterior-left-front-three-quarter.jpeg?isig=0&q=80 "[object Object] ThumbNail Images")
![[object Object] ThumbNail Images](https://imgd.aeplcdn.com/80x52/n/cw/ec/125193/comet-ev-exterior-front-view-6.jpeg?isig=0&q=80 "[object Object] ThumbNail Images")
![[object Object] ThumbNail Images](https://imgd.aeplcdn.com/80x52/n/cw/ec/125193/comet-ev-exterior-front-view-26.jpeg?isig=0&q=80 "[object Object] ThumbNail Images")
![[object Object] ThumbNail Images](https://imgd.aeplcdn.com/80x52/n/cw/ec/125193/comet-ev-exterior-front-view-30.jpeg?isig=0&q=80 "[object Object] ThumbNail Images")
![[object Object] ThumbNail Images](https://imgd.aeplcdn.com/80x52/n/cw/ec/125193/comet-ev-interior-dashboard-2.jpeg?isig=0&q=80 "[object Object] ThumbNail Images")